Easy Ways to Organize Your Garden Tools

Woman Organizing Garden Tools

If you love gardening, you’re probably imagining all the amazing things you’ll grow throughout summer and harvest in the fall: salads full of leafy greens, fresh tomatoes, and cucumbers, stir-fries with fresh zucchini, summer squash, and carrots — all grown in your backyard.

Before you can reap the benefits of your green thumbs, you must plan, prepare, and plant. But when you step into your garden shed or the corner of your garage where you keep all your gardening tools and supplies, suddenly you’re overwhelmed by the tangle of tools.

What’s a gardener to do?

Organizing Your Gardening Tools

When you’re faced with a pressing need to organize a space, it’s tempting to hop on Pinterest or Google and explore fun storage ideas. As cute as some of those pallet hacks can be, you’ll usually find yourself with an even bigger jumble if you try to fit your tools to a design idea rather than your design idea to your tools.


The number one mistake people make when organizing anything is starting with containers or storage solutions before they’ve assessed what they have to get organized.

Assess Your Garden Tools

With a project like this, it’s easy to get distracted—especially if your garden tools are in the garage. Remember to stay focused on the category you’re working within, and you can always come back later to tackle other sections.

Depending on the space you’re working within, pull everything out so you can assess all your supplies. Then, begin sorting materials into categories that make the most sense to you. When sorting, it’s important to group things together in ways that you know you’ll look for them when you need them.

Example categories:

  • Hand tools (trowels, weeding tool, garden fork, hand rake)
  • Long-handled tools (shovels, rakes, hoes)
  • A grab-and-go bag or bucket (trowel, gloves, knee pad, clippers)
  • Supplies: watering can, buckets, pots, fertilizers, soil, seeds

As you sort through your supplies, remember to discard anything that you no longer use. (And if you donate it, be sure to get it as clean as you’d want it if YOU got it for free. Free doesn’t mean someone should have to scrape the dirt off.)

That broken tool you keep meaning to fix but never get around to? Toss it.

If you have four rakes but only use the bow rake and leaf rake, then donate the other two!

Discarding excess will help you keep your garden tools tidy.

Get Creative With Garden Storage Solutions

Now you can begin implementing some of the fun ideas you see on Pinterest! It can be fun to repurpose old pallets to create a handy wall-mounted tool rack or hang a pegboard for easy access to your most-used tools. But remember to choose practical ideas that are functional, not just cute.

A few suggestions:

  • A rack that separates your long-handled garden tools so they don’t become mixed up again.
  • Hooks to hang things on the wall — always use the vertical space!
  • Label everything! Your future self will thank you next year when you can easily locate that elusive pair of pruning shears.

One More Note:

If you share your tools and garden space with anyone, be sure to make this a team effort! No one likes surprises like this. And your partner will thank you.

Ready for some hands-on support? Contact me to learn how we can work together.

Need more Inspiration or Ideas? This is a fun read about Garden Tool Organization

Ready, Set, Garden!

With your garden tools neatly organized, now is the time to take a moment to celebrate! Getting things in order will save you tons of time (and frustration!) this gardening season.

Now, if you’ll excuse me, I have some weeds to pull and flowers to tend to. Until next time, happy gardening!

The Missing Step in Spring Cleaning

You know the feeling you get as spring approaches? The giddiness you feel as the sun comes out a little more, the buds on the trees begin growing, and little bits of color start popping up as flowers begin to bloom. California poppies are on full display. And birds are chirping – like they’re saying, “it’s time to get going!”

It comes every year, yet spring always feels fresh and new when it rolls around. Everywhere you look online, in magazines, or newspapers, everyone’s talking about spring cleaning.

But one major part that’s often overlooked is decluttering. Before you can dive into the deep cleaning, you need to make space first!

Decluttering isn’t just about organizing physical spaces — it’s about creating mental clarity and emotional well-being. Here are a few reasons why decluttering should be the first step when you begin spring cleaning.

Easier to Clean
Simply put? When there’s less stuff in the way, it’s easier to clean.

Increased Clarity and Focus

Our physical space impacts our mental clarity and ability to focus. Clutter has been proven to lead to overwhelm, stress, and anxiety. A tidy environment promotes a sense of peace and clarity, allowing us to approach tasks with a renewed sense of purpose. And spring is all about renewal!

Letting Go

That feeling of renewal makes spring the perfect time to let go of the things that no longer serve us. 

Whether it’s clothing we haven’t worn in years, knick-knacks collecting dust on shelves, or kitchen utensils shoved in the back of drawers, letting go of belongings fits right in with the spring feeling of out with the old, in with the new! The difference? Let’s pause when buying things and make conscious decisions about the new things we bring into our homes. That way, there’s less clutter to clean around!

Increased Productivity

Clutter slows us down. It physically gets in the way of spring cleaning, but it also makes it easy to get distracted and lose focus. By decluttering, we eliminate distractions and create an environment that fosters productivity and creativity.

The Missing Step to Spring Cleaning

While all that information is important, sometimes you just need to get things done! When it comes to spring cleaning, you just need to get some of the obvious clutter out of the way so you can scrub the floors, dust the shelves, and get to all the spaces the sun is now shining on.


That’s why I recommend a quick session of speed decluttering. So, how does it work?

Speed Decluttering

A full declutter is essential when it comes to getting your entire home organized and we’ll go deeper into that process another time. 

For the sake of making space for spring cleaning, I suggest starting with a quick declutter because it will help you build momentum. Speed decluttering is like speed dating — you’re just getting a sample of it first to see how it goes! Then you’ll do a deeper dive later.

Here’s how it works:

  • Grab a garbage bag and a box.
  • Walk around every room in your house and look for garbage or items you can donate. You’re looking for items that are a quick decision right now.
    • Trash the kids left out? Toss it. Old headphones no one uses? Gone. Dog toy that’s ripped to shreds? Garbage. (But don’t let Scruffy see you!)
    • Want to get the kids involved and make it a little more fun? Set a timer for 10 minutes and a goal of 25 items. See what they come up with!

Come Back Later

After your speed decluttering, it’s easier to get your spring cleaning done. And after that, set aside some time to come back and do more detailed decluttering and organizing. I’ll be here, ready for you!

If you enjoyed this blog post, sign up for my newsletter to keep the motivation going!
~Tami

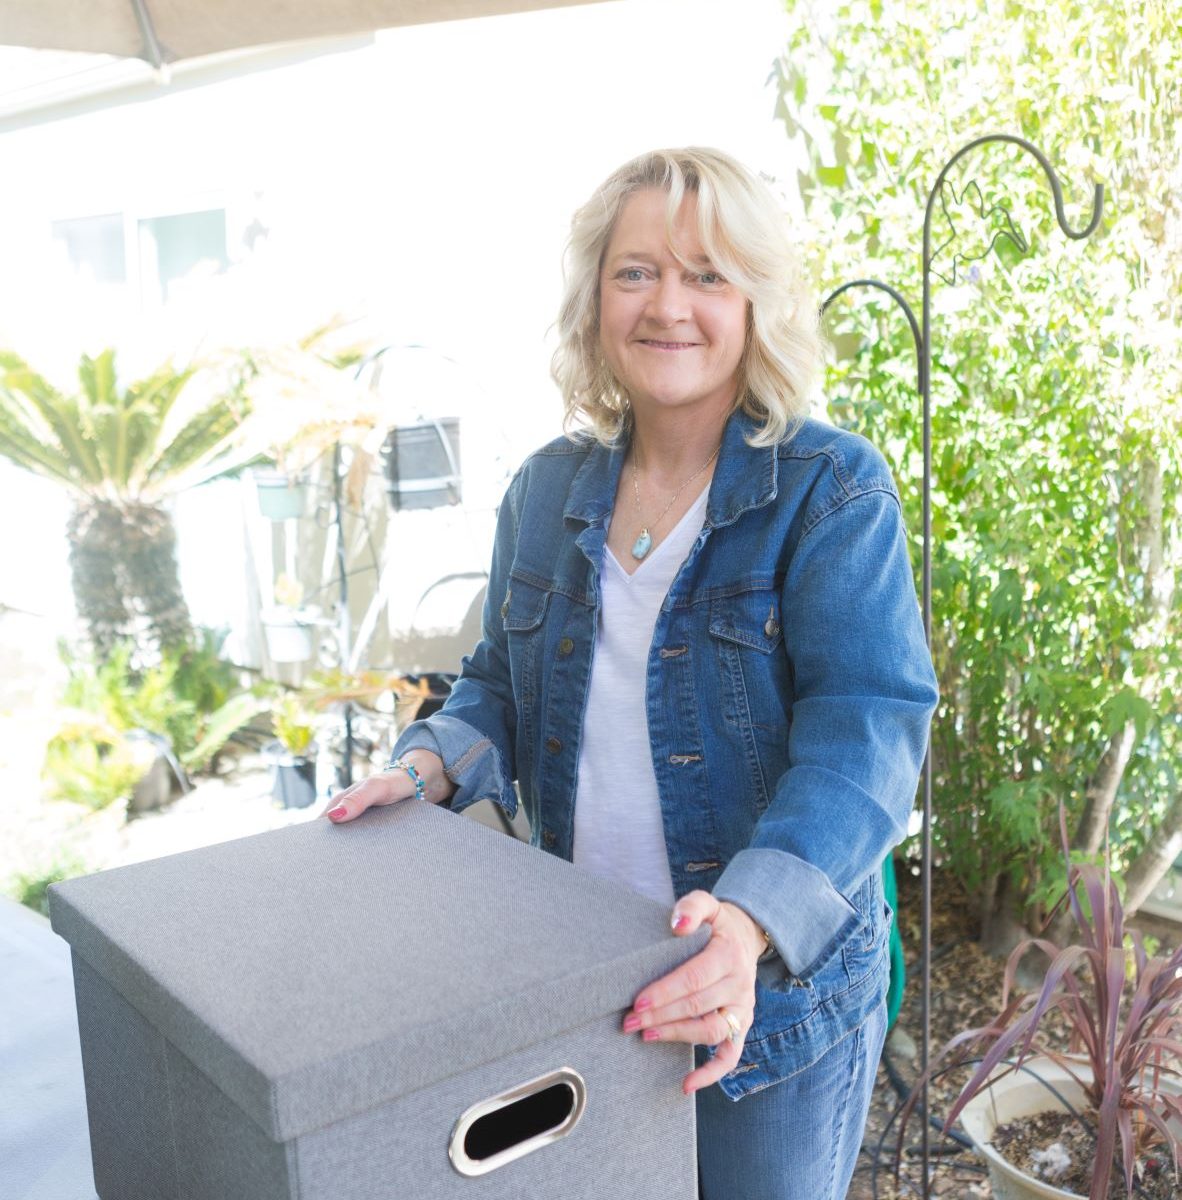
Portable Linen Bankers Box – Good for Evacuation

Since we never know when we’ll need to evacuate from our homes due to floods, fires, earthquakes, etc., it’s a good idea to have all our important documents and a stash of cash ready to go in minutes.

Here’s what we recommend – a portable file box. It’s foldable and has a linen-look. It also folds flat and can live next to where all your official documents are stored (if you have a metal file cabinet or safe you store them in at home). This way, when you need to evacuate, it takes less than a minute to assemble, has built-in handles, and a sturdy lid. Boom!

These are not expensive. You can order these online, purchase them from office supply stores, or big box stores. They come in a variety of colors, so can easily match your décor.

File Folders

Are piles of papers cluttering your desk or kitchen table? Can’t find bills you need to pay?

Maybe it’s time to create an easy-to-use system. Nothing fancy, just buy some manila envelopes (or get colored ones for extra pop) and a wire rack. I recommend a rack that holds folders upright so you can see the tabs.

First folder, label it “bills to be paid”. Next one, “receipts/orders”. Credit card receipts and online orders you’ve printed receipts for, go in this folder. Last one, mark “pending”, for anything long term that is still pending and doesn’t make sense to put in the bills or receipts folders.

Now you can start filing. When you’re finished, put the folders in the rack and set it on your desk. Some people put the rack behind a cabinet/pantry door. I recommend that you put it close to where you process your mail. Then it’s a quick file after you know you need to act on it. Other papers (think junk mail), directly in to recycle bin! Congrats, you’re done!

Mail – the old-fashioned kind

When you get your mail, do you toss it onto your kitchen table? Your counter? You’re not alone.

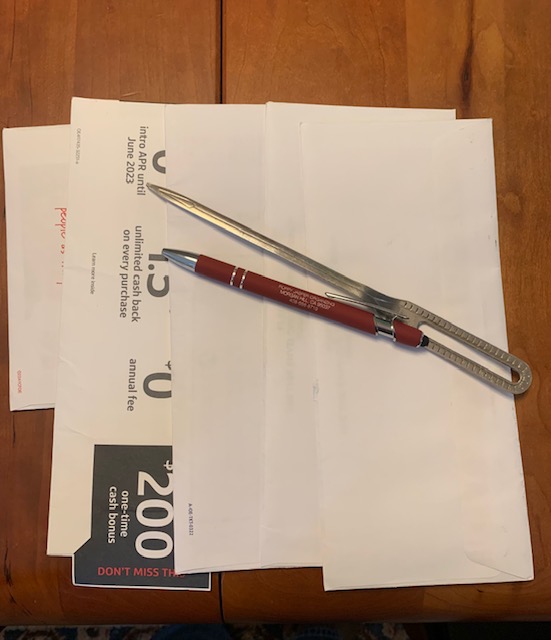
Hack – take 2 minutes to go through it…YEP…before you toss it down. Be ruthless and intent on tossing junk mail. Separate flyers from sealed envelopes. Quick-toss junk mail to recycle bin. Put bills where you’ll pay them (maybe a folder?) – DONE!

What’s your current system? Does it work? What drives you nuts about snail mail? Let me know on the contact page