Ask Yourself This Question
This one question cuts through the clutter faster than any checklist — and you don’t even have to be moving to use it.
Moving is stressful. There are a million things to juggle and approximately three hundred and seven things that can go wrong. And somehow you’re supposed to fit it all in while you’re living your actual life!
So why add “haul a bunch of stuff you don’t even like anymore” to the list?
Here’s the thing most people don’t think about until they’re elbow-deep in packing tape: every single item in your home has a price tag on it the moment you decide to move it.
Most moving companies charge by weight, by time, or both — and either way, the math is simple. Fewer boxes equals less money, less truck space, and fewer hours of sweaty strangers carrying your “I’ll deal with this later” pile from one address to another. It also means faster packing and a lot less chaos on the other end when you actually have to unpack everything after moving.
And guess what? You don’t have to be in the middle of an actual move to use this trick.
Asking yourself, “Would I pay to move this?” is one of the most effective de-cluttering tools. It bypasses guilt, indecision, and the sentimental spiral we all feel, replacing them with something refreshingly concrete: a number. And when the answer is a hard, immediate, visceral NO? That’s your cue to let go.
Millions of people move every year, yet it’s still one of the most stressful experiences we can go through. The good news? It’s one of the most powerful motivators for de-cluttering.
So if you’re staring down an actual move in Morgan Hill, or just finally ready to deal with the pile that’s been judging you from the corner, use this one question to cut through the noise faster than any checklist ever could.
Here’s how to apply it to the five mental blocks that keep most people stuck.
The Sunk Cost Pile
What to Do With Stuff You Spent Good Money On
You’ve spent real money on some of these things, and yet there they sit, untouched and mildly accusatory. You’ll find the sunk cost pile in the back of the closet, the corner of the garage, or the cabinet you’ve been avoiding since 2019.
The expensive blender. The exercise equipment. The professional camera you were definitely going to learn to use once things calmed down. (Things have not calmed down.)
Here’s what psychology tells us: humans are wired to factor past investments into future decisions, even when those past investments are long gone. It’s called the sunk cost fallacy, and it is responsible for more cluttered garages than any other force in the known universe.
The money is spent whether the item stays or goes. Keeping it doesn’t recover a single dollar. It just costs you space — and potentially moving fees on top of it. The item has already done its damage to your wallet. Don’t let it do more!
Question to ask yourself: If I found this at a garage sale today, would I buy it again?
If the answer is no, then it’s time to let go.
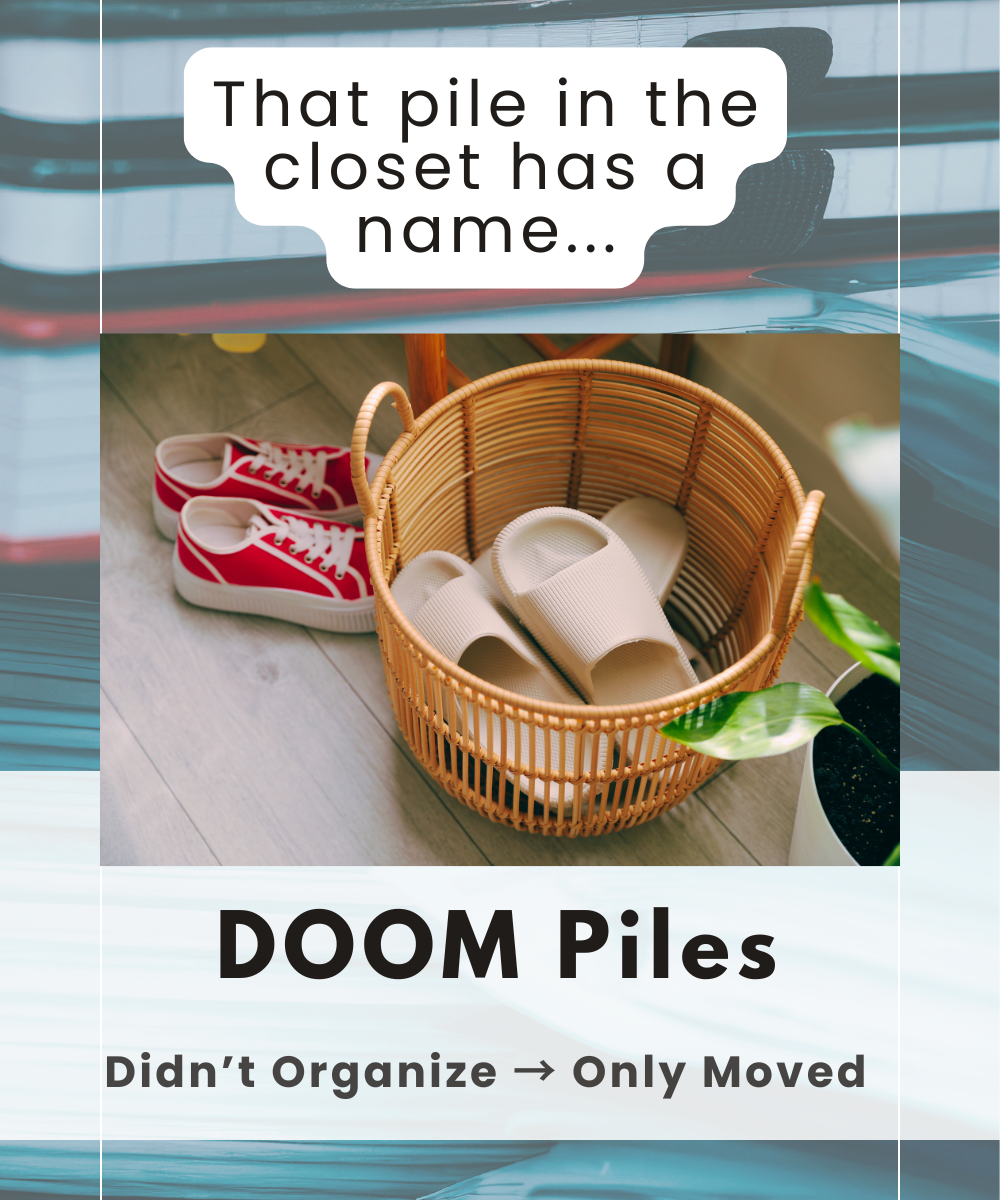
The Someday Pile
How to Decide What to Keep When You’re Not Sure You’re Ready to Let Go
“I’ll definitely use this when I finally…” Go ahead and finish that sentence. When you finally have a bigger house. Learn to sew. Get back into running. Redecorate the guest room. Host dinner parties again.
Someday piles are built on pure optimism, which makes them genuinely hard to argue with. You’re not being irrational — you’re being hopeful! You’re a dreamer! You contain multitudes!
You also own four sets of curtains for window sizes you no longer have…
If “someday” hasn’t shown up in the last two or three years, it’s fair to ask whether it’s actually ever coming.
Question to ask yourself: Would I pay to move this to my next home on the off chance that someday finally happens?
And even if you let something go and someday does happen, you can get another one then — probably for less than it would’ve cost to move and store the original.
The What-If Pile
What to Get Rid of Before Moving When You’re Scared You’ll Regret It
This is different from the someday pile. The what-if pile is anxiety-based rather than aspirational.
It’s the drawer full of duplicate phone chargers, the extra set of sheets that don’t fit any bed you currently own, the instruction manuals for appliances that went to Goodwill in 2018.
This pile exists to soothe a very understandable fear: what if I get rid of something and regret it? What if I need exactly this random thing, don’t have it, and everything falls apart?
Gentle reality check: most things can be replaced, borrowed, or honestly just done without. The mental load of managing excess stuff quietly costs more energy than the occasional replacement ever would. You are not one misplaced phone charger away from catastrophe.
Question to ask yourself: If I needed this and didn’t have it, how hard would it actually be to solve that problem?
In most cases, the answer is “pretty easy.”
The Guilt Pile
How to Let Go of Sentimental Items Before a Move
Okay, this one we’re going to handle with care — because it’s not really about the stuff. It’s about the relationships tangled up in it. The gift that was a thoughtful gesture, but you never used. The heirloom that doesn’t fit your home or your life. The thing someone gave you with love and expectation wrapped up together in a gift bag—and you kept that, too.
Here’s the truth: you can honor the love behind a gift without being contractually obligated to store it forever. In most cases, the person who gave it to you wanted to bring you joy — not saddle you with a square footage problem that follows you from house to house.
Question to ask yourself: Am I keeping this out of genuine love for the item, or out of fear of what letting it go might mean?
If it’s the latter, this is honestly one of the best reasons to bring in a professional organizer. Having a calm, neutral person in the room makes these decisions so much easier — someone who isn’t emotionally attached to any of it and isn’t going to guilt-trip you either way. If you need a professional organizer in Morgan Hill or the surrounding area, I’d love to help you sort through and let go of items you no longer have to feel bad about. Contact me here.
The Almost Works Pile
Should You Move It or Ditch It? Here’s How to Decide
This is the sneakiest pile of all. It’s the pan that cooks unevenly, the lamp that flickers at dinner parties, the chair that’s technically functional but that you kind of hate sitting in. Nothing here is broken enough to justify tossing, but nothing is good enough to actually enjoy. So it all just stays — quietly taking up space, quietly lowering the vibe of your space, quietly waiting for you to deal with it.
Spoiler: moving day is not the deal-with-it moment you’re hoping for.
Question to ask yourself: If I could start fresh in a new home, would this make the cut?
That’s really the whole exercise in one sentence. A move gives people permission to be intentional about what they carry forward into their next chapter. That permission? You have it right now. No moving truck required.
Ready to Work Through It?
De-cluttering before a move (or just when you’ve finally had enough) is one of the kindest things you can do for your future self. And when the process starts to feel like too much to tackle alone, that’s exactly what a professional organizer, like me, is here for.
A Morgan Hill professional organizer can help you work through every pile, every question, and every “but what if I need it someday” spiral. And I’ll do it without judgment, without rushing you, and without letting you talk yourself into keeping the scrapbooking materials you haven’t touched since 2009.
Happy Organizing!
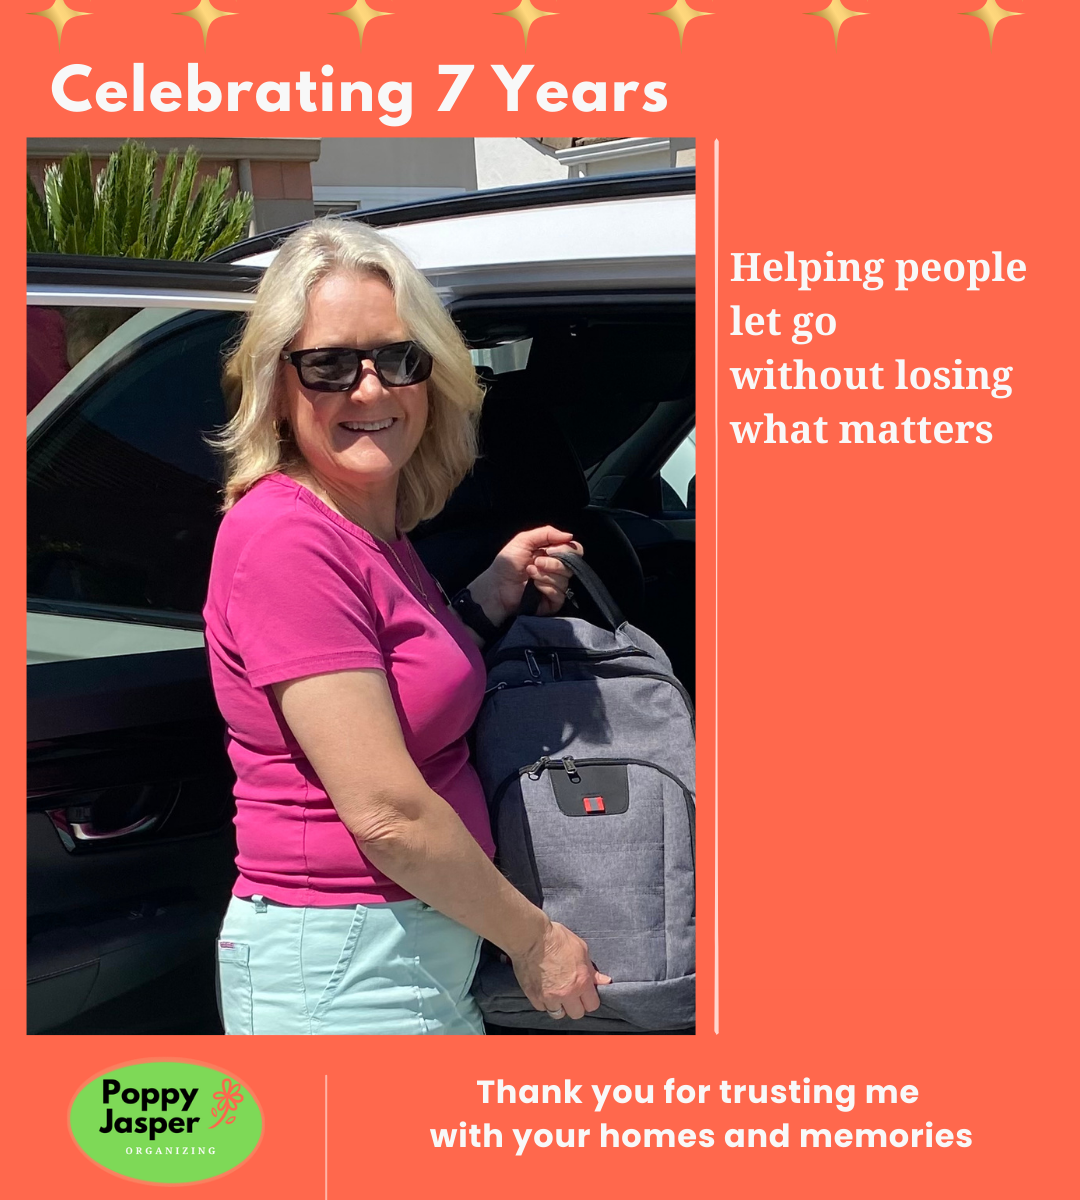
~Tami
~Helping you let go without losing what matters~